Remember the magic of watching your favorite home improvement show, where they effortlessly transform a dull bathroom into a chic space with a new vanity? Well now, it's your turn to bring that charm to your own bathroom. You don't need to be an expert or hire one; you just need the right guide. That's why we've put together this step-by-step tutorial on installing your first bathroom vanity. We'll help you choose the perfect vanity, teach you how to remove the old one and mount the new one securely, and even give tips for those final touches and clean up. So roll up your sleeves, grab your toolbox and get ready to fall in love with your bathroom all over again. Let's get started on this exciting DIY adventure!
Preparing for the Project
Before you dive headfirst into installing your first bathroom vanity, it's crucial to make sure you're adequately prepared for the project. It isn't just about picking a stylish design; there are several factors you need to consider in order to ensure a smooth installation.
Firstly, project budgeting is of utmost importance. You've got to factor in not only the cost of the vanity itself but also any additional materials and tools necessary for installation. It's always better to overestimate than underestimate when budgeting for home improvement projects.
Next up is acquiring all necessary tools before starting the job. This can include items like a level, drill, screwdriver set, wrenches, and possibly even a stud finder. Don't forget about safety gear too! A good pair of gloves and safety glasses can be lifesavers during construction.
Finally, conduct a thorough space evaluation. Measure your bathroom area carefully so that your new vanity fits perfectly without cramping up the room or blocking any doors or cabinets.
You're now ready to move forward with this exciting task! Let's get started on finding that perfect vanity which will add sophistication and functionality to your bathroom space.
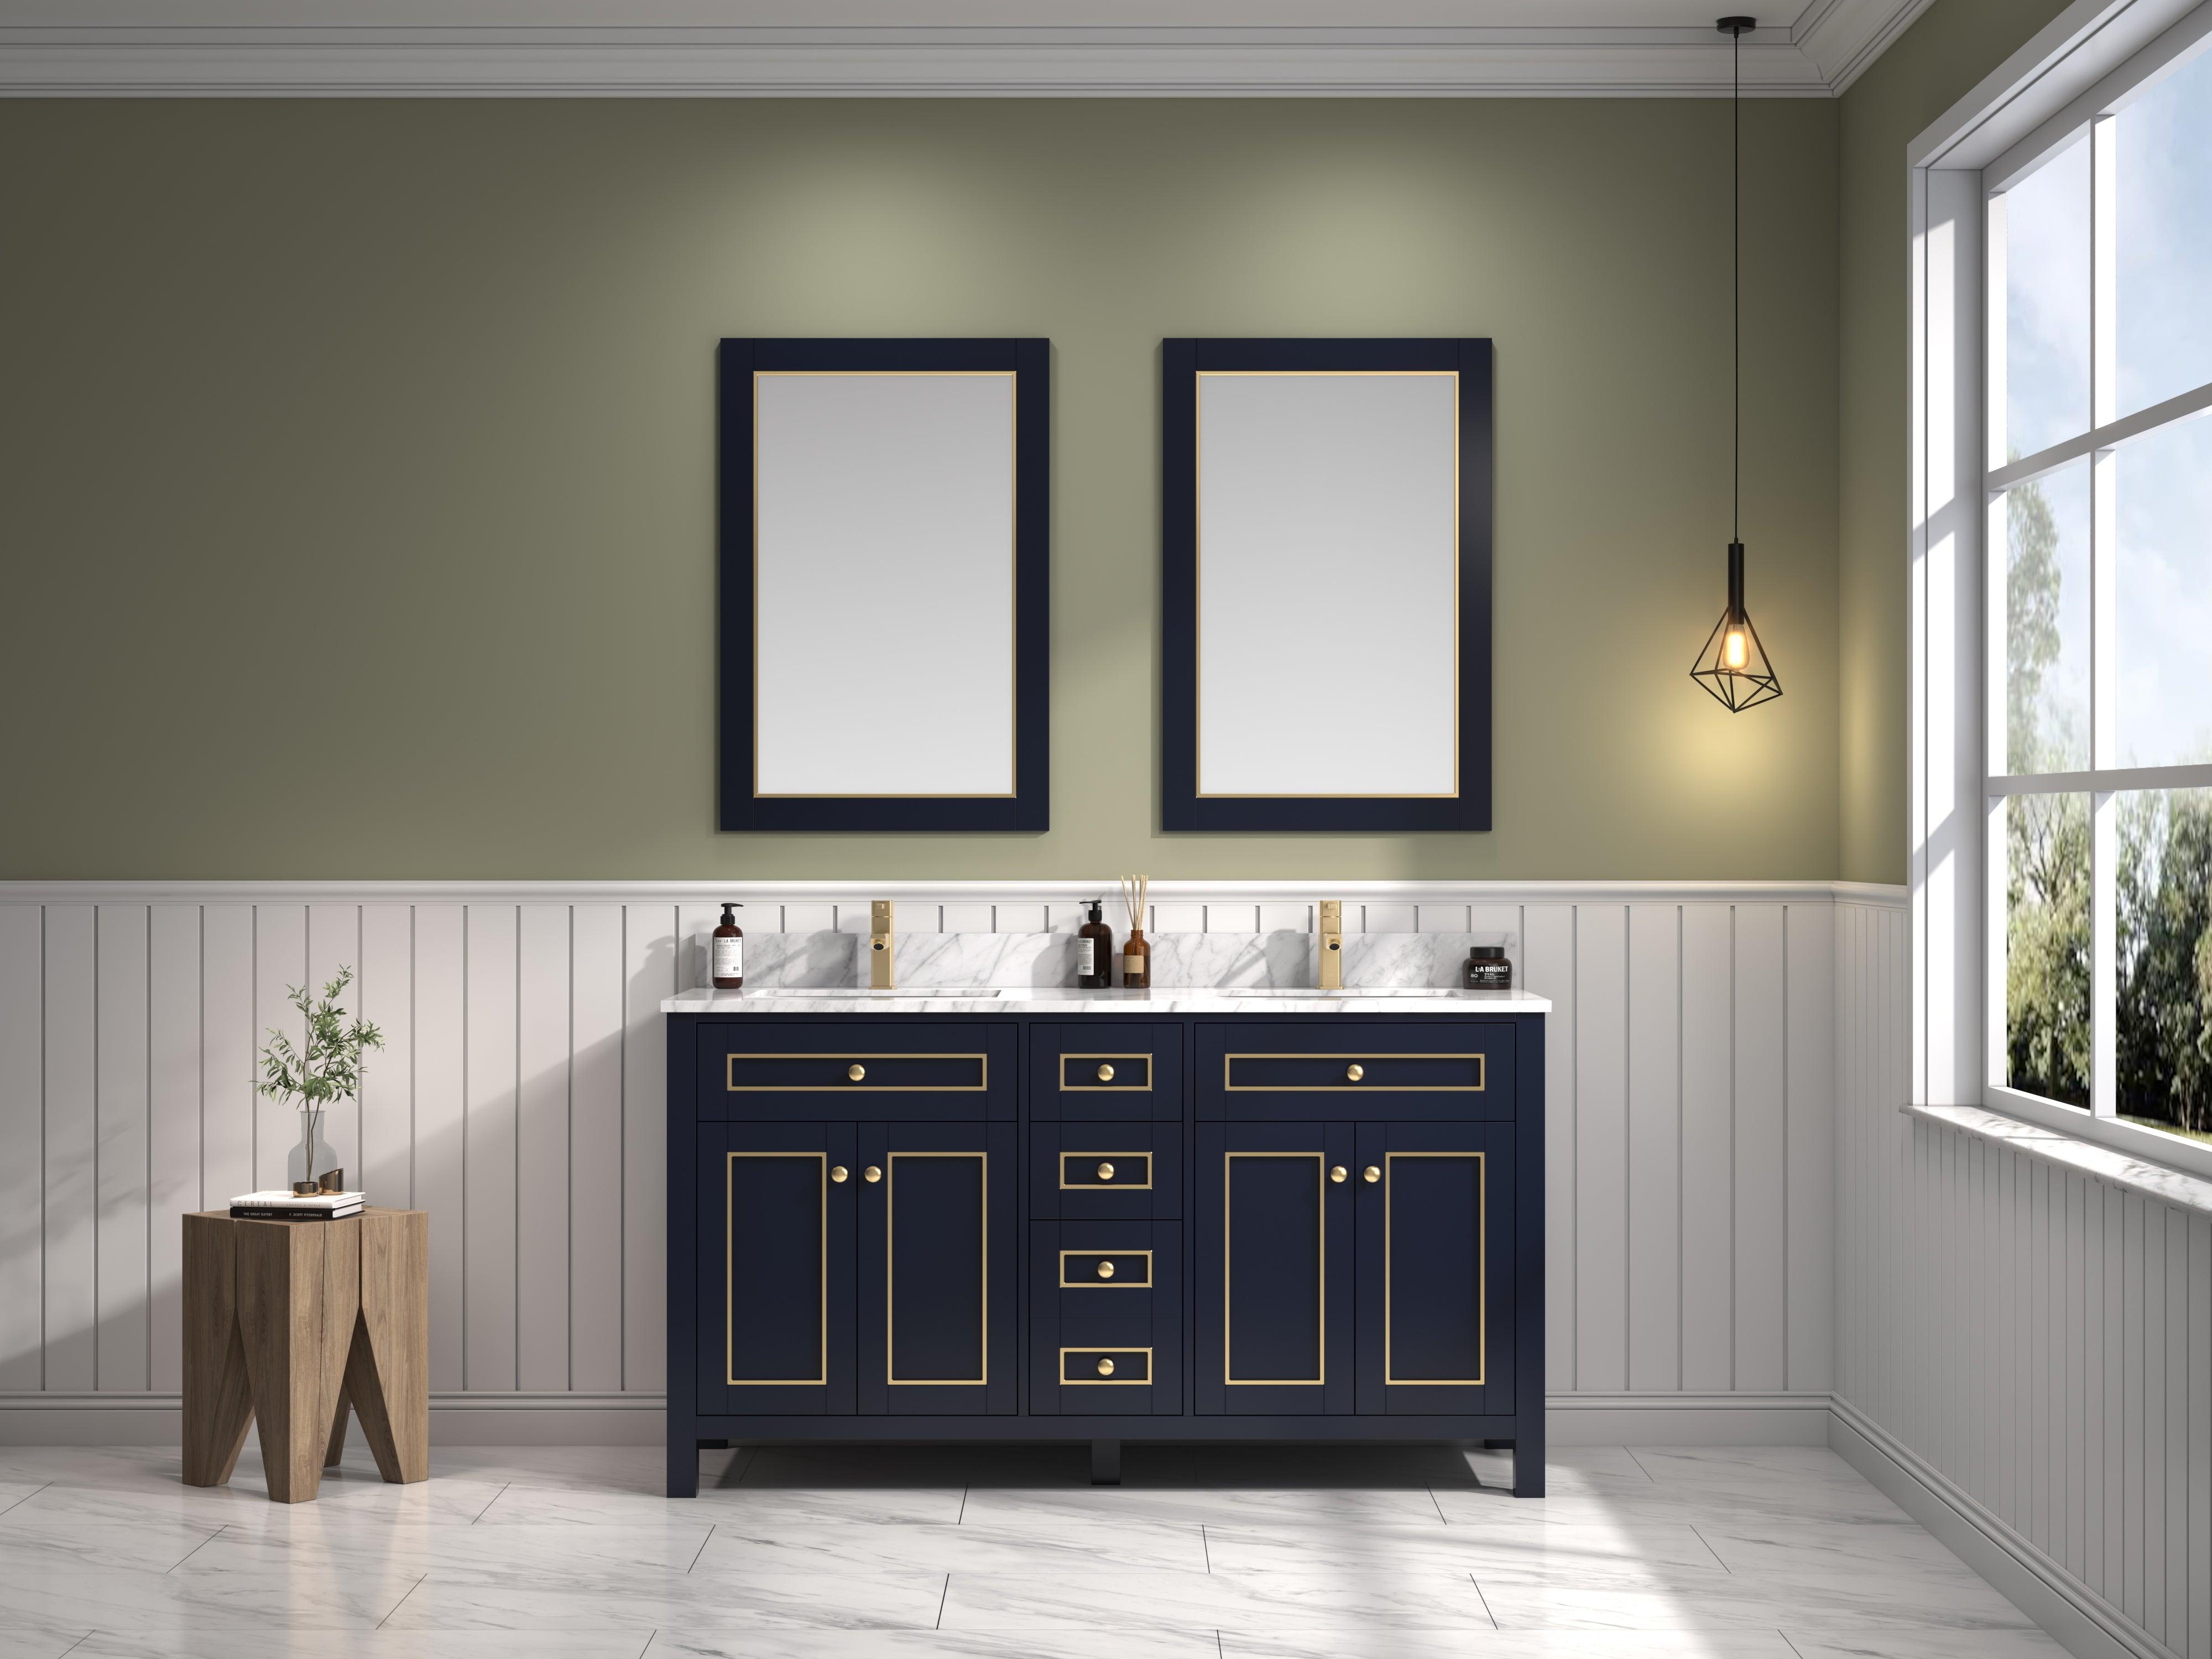
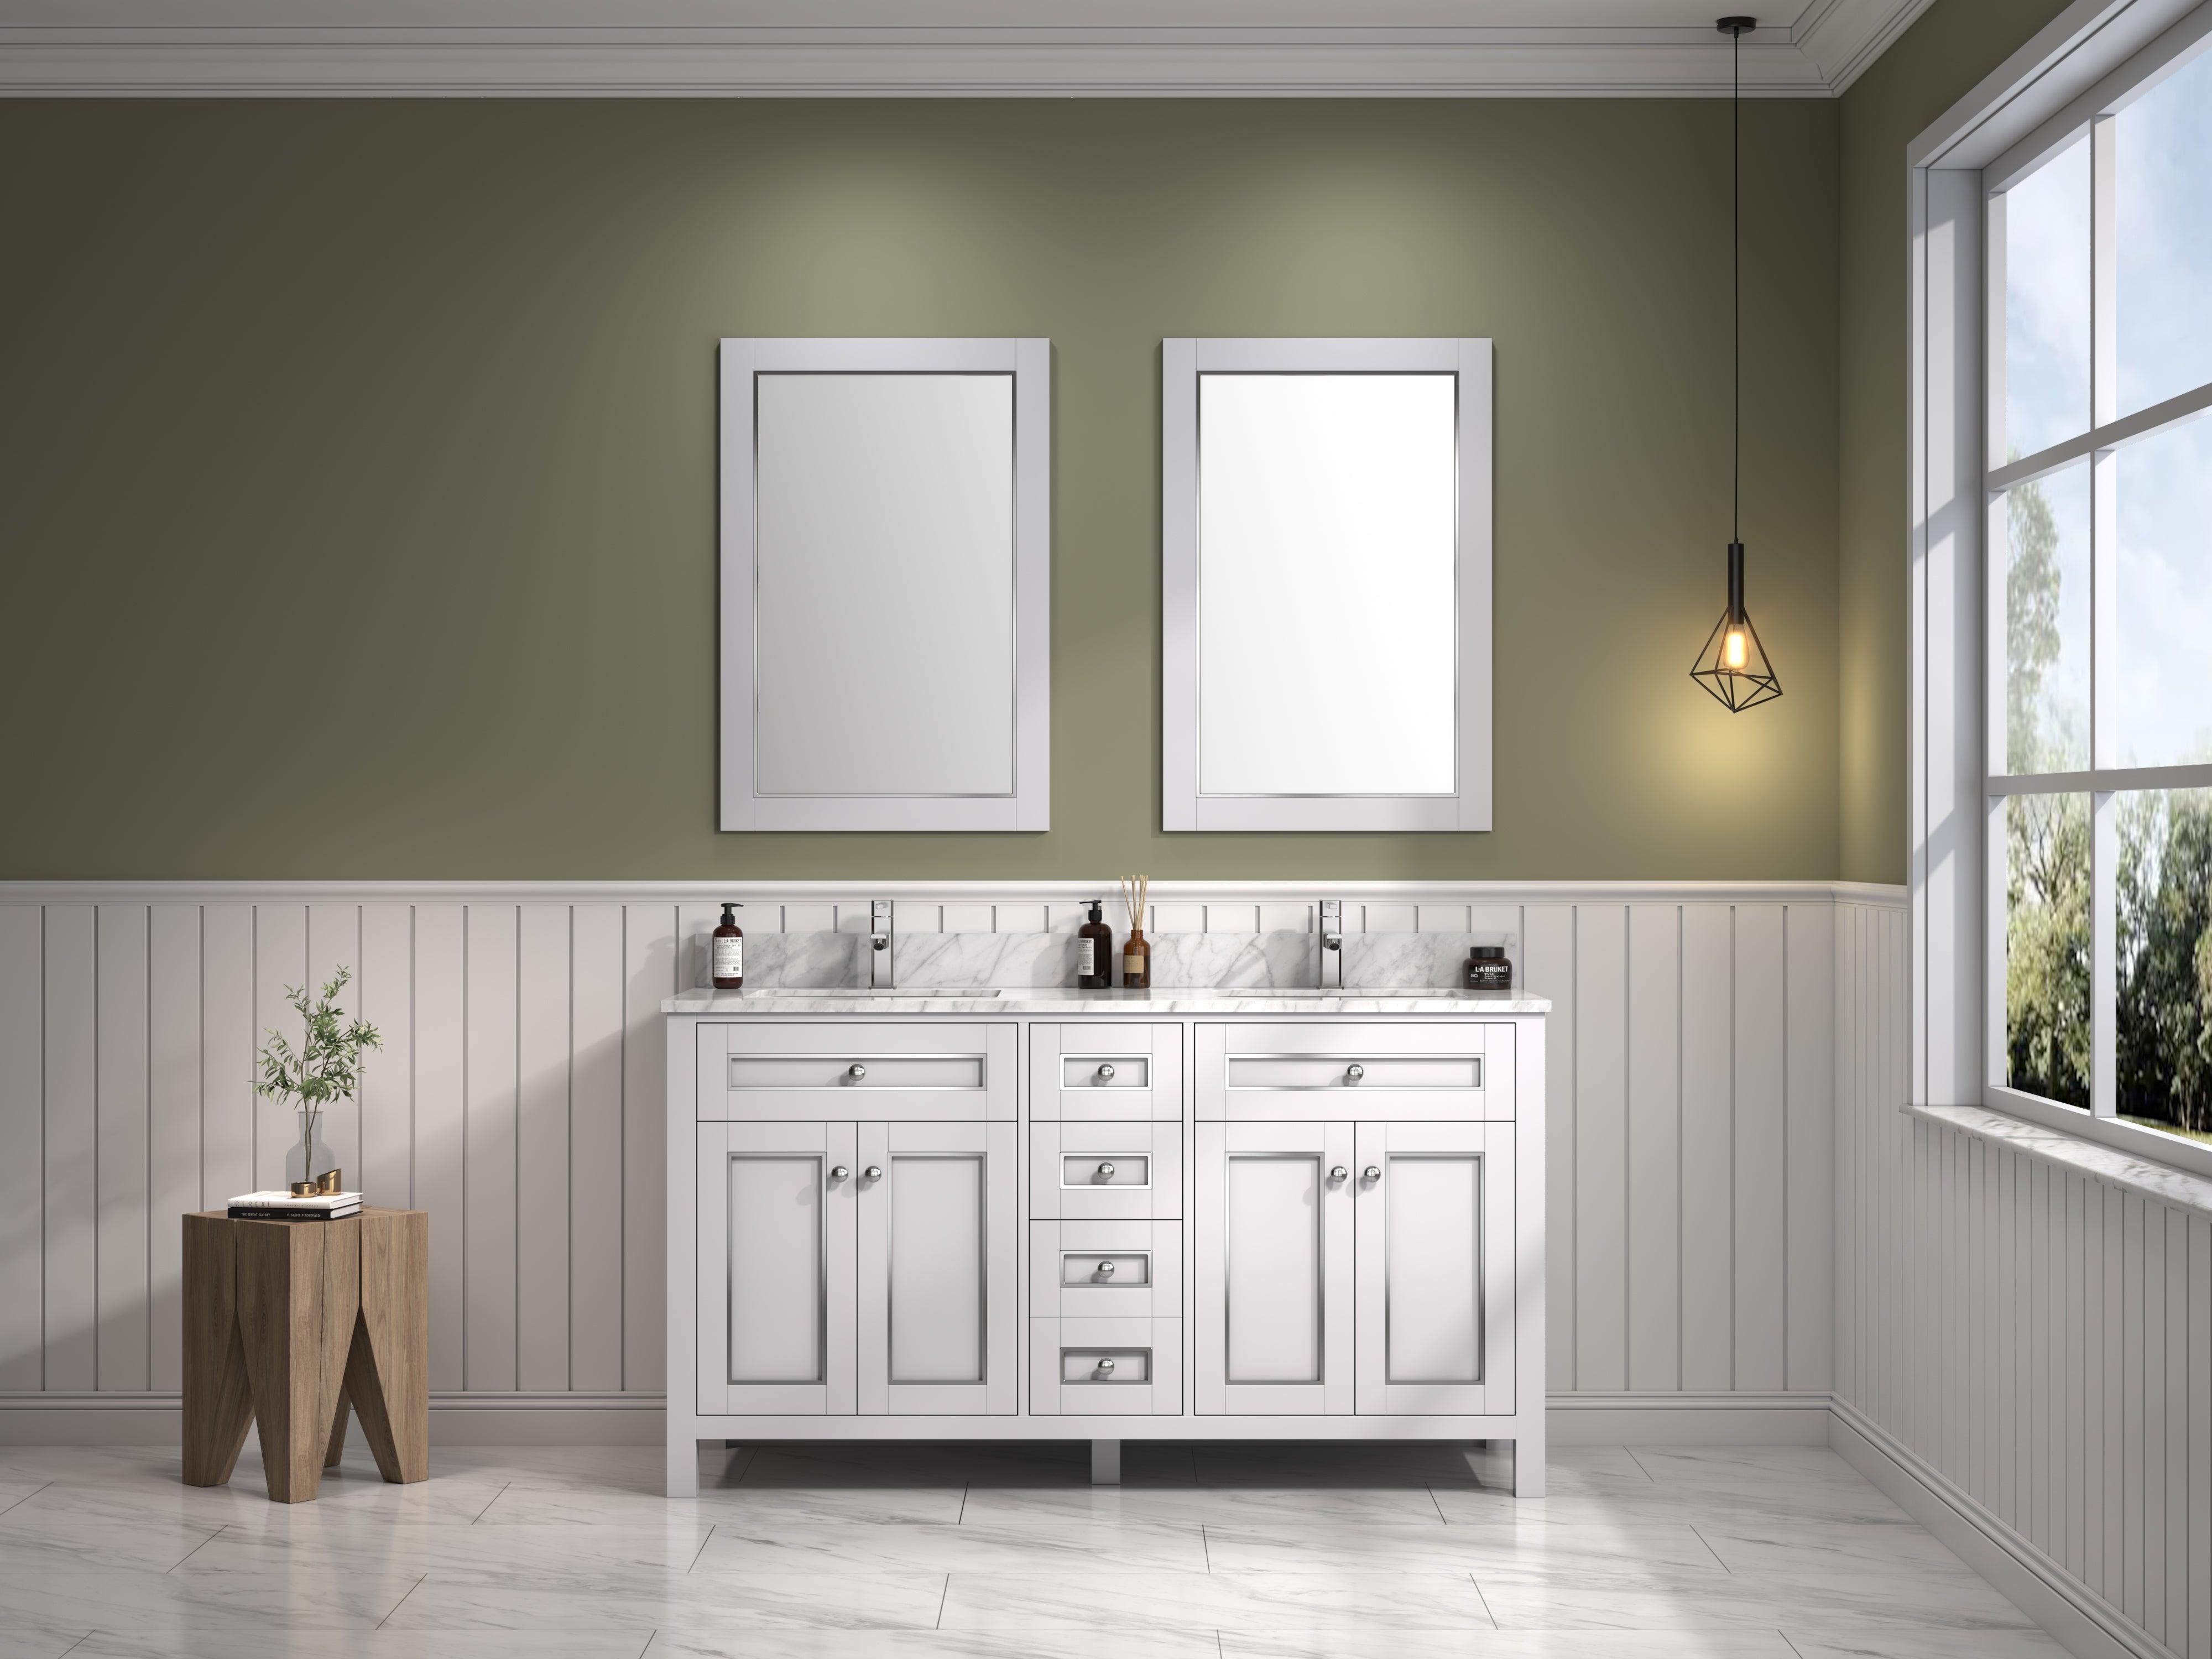
Choosing the Right Vanity
When it comes to jazzing up your restroom, picking the perfect vanity can truly make all the difference. It can add a touch of elegance and functionality to your bathroom space. However, there are several factors you need to consider before making a purchase.
| Vanity Materials | Description |
|---|---|
| Wood | Known for its durability and versatility in design. |
| Stone | Offers a luxurious look but may require more maintenance. |
| Metal | Durable and offers a modern aesthetic. |
Size considerations are also essential in choosing the right vanity - always measure your bathroom first! You wouldn't want to buy something too large or too small for your space.
Design aesthetics should align with your overall bathroom style and personal preference. Whether you're going for a classic, contemporary, or minimalist vibe, ensure that your chosen vanity complements that theme.
Remember, it's not just about how good it looks - functionality is equally important! Your new vanity should meet all your storage needs while blending seamlessly into your decor.
Next up: Out with the old! Stay tuned as we guide you through removing your old vanity without any hassle or damage.
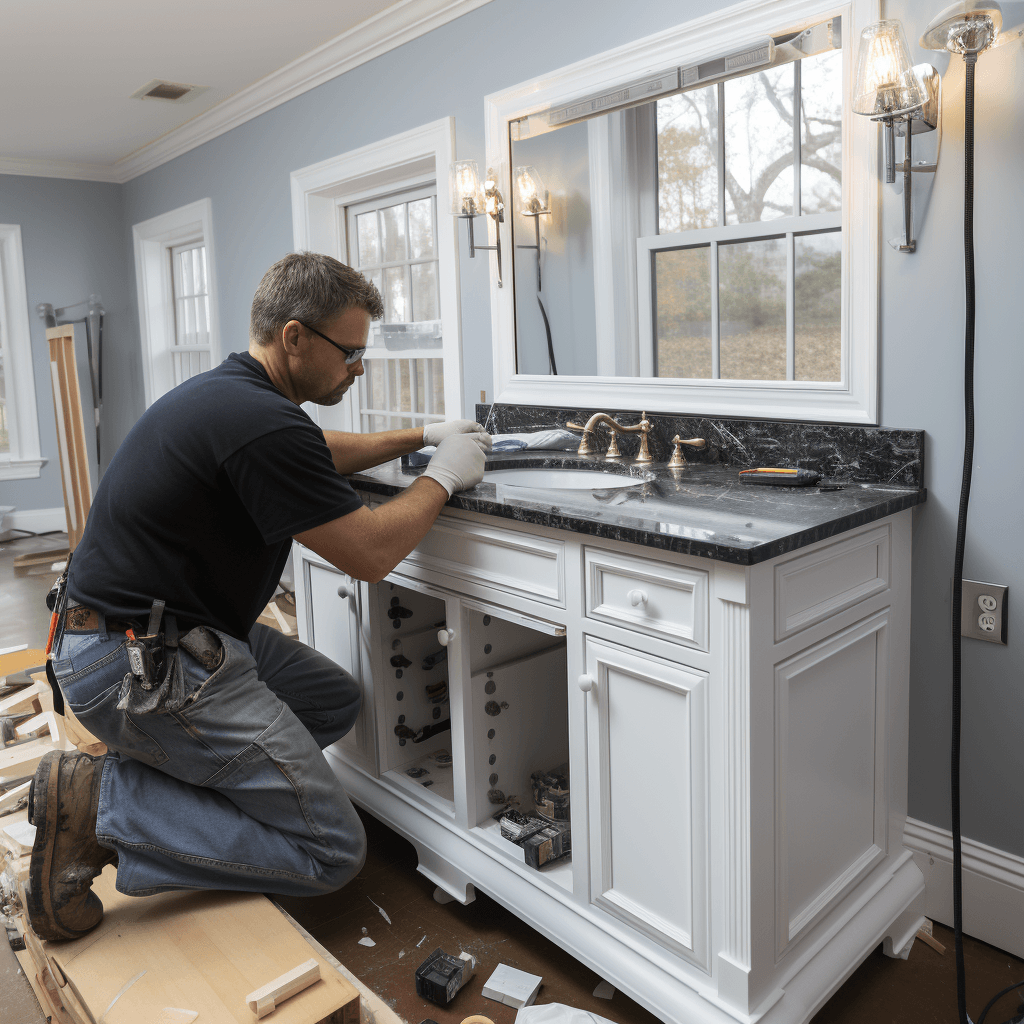
Removal of the Old Vanity
Ready to give your restroom a facelift? Let's start by tackling the task of removing that old vanity. This might seem like a daunting task, but it's actually quite straightforward if you follow these steps carefully.
Before you begin, there are some key things to consider:
- Disposal methods: Have a plan for disposing your old vanity, whether it's donating it or arranging for pick-up with your local waste disposal service.
- Plumbing adjustments: Turn off the water supply and disconnect all plumbing connections.
- Wall repair: Removing the vanity could potentially damage your wall, so be prepared to patch up any holes or scratches afterward.
- Safety precautions: Wear protective gear such as gloves and safety glasses to avoid injuries during removal.
- Cleanup: Keep a trash bag handy for debris and cleanup as you go.
Once you've successfully removed the old vanity, make sure all necessary plumbing adjustments have been made and the area is cleaned up. Don't worry about any minor wall damage; we'll cover wall repair next. Now that you've cleared out space, get excited because next up is mounting your new sparkling bathroom fixture!
Mounting the New Vanity
Now, nailing a new vanity in place is not as nerve-wracking as you might think. The process begins with the right vanity positioning. Start off by aligning your new vanity where the old one used to be. Ensure it's level and centered to avoid any crooked appearances once it's installed.
Next up is hardware selection. Opt for high-quality screws and anchors that can successfully bear the weight of your vanity. This is crucial because once filled with toiletries and other items, vanities tend to get heavy.
Following this, plumbing adjustment comes into play. Make sure you've cut holes at the back of your vanity for pipes or any fittings necessary. Carefully reconnect all plumbing; this includes both drain lines and water supply lines.
As you proceed with mounting your new bathroom vanity, remember patience is key! Rushing through this phase could lead to misalignments or even damage to your newly bought vanity.
You're almost there! With the proper tools and careful steps, you've successfully mounted a brand-new bathroom vanity. Up next, we'll guide you through adding some final touches and ensuring everything is cleaned up nicely after installation work.
Final Touches and Clean Up
Let's dive right into the final stage - adding those finishing touches and tidying up to reveal your beautifully updated space! Now that your vanity is securely in place, it's time for mirror installation. Position the mirror above the sink where you'd like it to hang. Using a level, ensure it's perfectly straight before marking the wall with pencil where the mounting brackets will go. Follow the manufacturer's instructions for screwing in the brackets and hanging your mirror.
Next step is to brighten up your new vanity space with some lighting. Vanity lighting should be a combination of functional and decorative. Choose lights that match your vanity style and provide sufficient illumination for grooming tasks. Install them according to their specific instructions, ensuring they are evenly spaced above or on either side of your mirror.
Accessorizing your vanity comes last but definitely not least. A soap dispenser that matches your hardware, a stylish toothbrush holder, or even an elegant tray for perfumes can add personal flair while keeping things organized.
After all installations are complete, clean up any debris or tools left behind from the project. Sweep and mop to make sure you're leaving this space sparkling clean. And there you have it – a brand new bathroom vanity ready for use!
Frequently Asked Questions
What kind of maintenance does a bathroom vanity require after installation?
"As the saying goes, 'prevention is better than cure.' Regular inspection's importance can't be overstated. Employ vanity cleaning techniques and damage prevention tips to keep your bathroom vanity looking new and functioning optimally."
How can I customize my bathroom vanity to suit my personal style?
You can personalize your bathroom vanity by choosing unique materials and incorporating stylish accessories. Experiment with various vanity lighting options to highlight the area in a way that reflects your personal style.
What are some common problems that might occur after installing a bathroom vanity, and how can they be resolved?
"Nearly 30% of DIY vanity installations result in alignment issues or plumbing complications. Fix misaligned vanities by adjusting their position, solve plumbing problems with professional help, and repair damaged vanities using patching kits."
Are there certain types of bathroom vanities that are more suitable for small bathrooms?
Yes, for small bathrooms, space saving designs are key. Consider corner vanities that maximize unused areas. Floating installations also create an illusion of more space by keeping the floor visible and uncluttered.
How can I make my bathroom vanity more eco-friendly?
You can make your bathroom vanity more eco-friendly by choosing sustainable materials, using repurposed vanities, or installing water-saving fixtures. These changes not only benefit the environment but also reduce your water bills.